

 English
 Español
PS Wall Panels Arrived? Don't Rush to Install – Do These 6 Things First to Save Yourself Trouble Later
Your PS wall panels have finally arrived after days of waiting. Most people's first reaction is to open the box, apply adhesive, and stick them on the wall.
Hold on. Take half an hour to do these 6 things first. It will help you avoid 90% of the problems later – crooked panels, lifting edges, glue stains that won't come off… many issues actually start with what you do (or don't do) in the first few days after delivery.
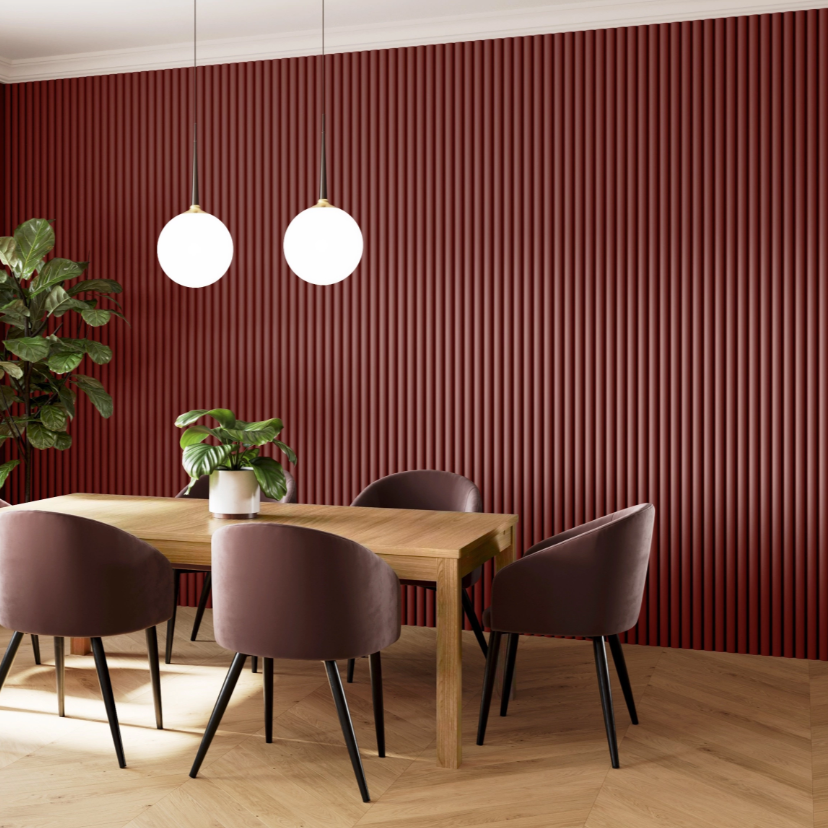
Step 1: Don't unpack everything at once. Open one box and inspect.
What to do
Open one box and take out one or two panels. Lay them flat on the floor.
What to check
- Is the color exactly what you ordered? Sometimes the seller sends the wrong one, or the color code you discussed doesn't match.
- Are there any scratches, chipped corners, or stains on the surface? Shipping damage can happen.
- Is the panel flat? Place it on a level floor and see if any corners lift up.
Why it matters
If you unpack everything, apply glue, and then realize the color is wrong or the panels are damaged, returning or exchanging them becomes a nightmare. Inspect one or two panels first. If there's a problem, contact the seller immediately.
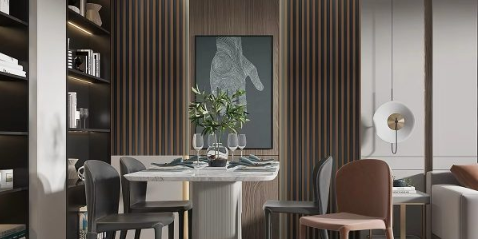
Step 2: Take one panel from each box and compare colors.
What to do
If you bought multiple boxes, take one panel from each box and lay them side by side.
What to check
Whether there is any color difference between different batches.
Why it matters
Different production batches can have very slight color variations due to different colorant lots. If you discover halfway through the installation that the panels from the second box don't match the first box, it's too late. Compare them in advance. If there's an obvious mismatch, ask the seller to replace them.
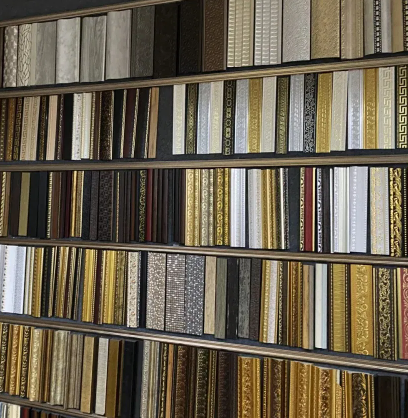
Step 3: Store the panels vertically, not flat.
What to do
After inspecting, lean the panels vertically against a wall. Do not stack them flat on top of each other.
Why it matters
PS panels have some rigidity, but if you stack them flat for a long time, the panels at the bottom can develop dents or slight warping. Leaning them vertically keeps the surface free of pressure and maintains flatness.
Note
Place a piece of wood or cardboard on the floor before leaning the panels against the wall. Do not let the panels touch a damp cement floor directly.
Step 4: Prepare your adhesive and tools in advance.
Many people receive the panels and then realize they can't find the caulking gun, or they bought the wrong type of adhesive.
You will need:
- Neutral silicone adhesive (must be neutral – acidic will corrode the panels)
- Caulking gun
- Utility knife (with spare blades)
- Straight edge or tape measure
- Spirit level (a level app on your phone works too)
- Painter's tape (for fixing panels while adhesive cures)
- Pencil
- Clean cloth
Suggestion
Buy the adhesive from the same seller as the panels – they know which one works best. If you buy it separately, look for "neutral" and "anti-mold" on the label.
Step 5: Prepare the wall beforehand. Don't wait until you're ready to stick.
What to do
- Wipe off dust and grease from the wall.
- Remove old wallpaper and loose paint.
- Fill nail holes and small dents with patching compound. Sand smooth after it dries.
- Wipe the wall again with a dry cloth to remove any remaining dust.
Why it matters
If the wall is dirty, the adhesive won't hold well and the panels will eventually lift. If the wall is uneven, thin panels will follow every bump and dip – and it will look terrible.
Timing
Patching compound needs half a day to a day to dry completely. We recommend preparing the wall on the day the panels arrive, so it's ready for installation the next day.
Step 6: Do a dry layout. Don't apply adhesive yet.
What to do
Lay the panels on the floor in the order you plan to install them. No glue – just arrange them.
What to check
- Does the pattern flow naturally (especially for wood grain – make sure the grain direction is consistent)?
- Are the offcuts at the ends enough to finish the wall?
- Have you marked the cutouts for outlets and switches?
Why it matters
Once you apply adhesive and stick a panel to the wall, adjusting it is very difficult. If you discover a problem during the dry layout, you can still change the arrangement. For example, if the panels don't look good together, you can try a different pattern match.
After these 6 steps, you're ready to install.
By then, you will know exactly how your panels look, whether the colors match, and whether the wall is ready. You'll have all your tools on hand. All that's left is to follow the installation video step by step.
Don't skip this half hour. The time you spend here saves you from rework, disputes, and regret later.
Frequently Asked Questions (FAQ)
Q1: Where is your factory located?
A: No. 10-1 Lianhong Road, Yuanhua Town, Haining City, Zhejiang Province, China.
Q2: What if I find a damaged panel when I open the box?
Take photos and a video (it's best to record the unboxing process). Contact customer service within 24 hours. We will arrange a replacement or refund. Do not try to glue it and use it anyway – that will cause bigger problems later.
Q3: I've already installed a few panels, and then I noticed color differences between boxes. What should I do?
Stop immediately. Take photos and send them to customer service. If the color difference is obvious (beyond reasonable variation), we will take care of it. If the difference is very slight, you can use the matching panels on the same wall and put the slightly different ones in a less noticeable area (e.g., behind the sofa).
Q4: Can I cut all the panels to size before I start installing?
You can, but we recommend cutting one panel at a time. Measure carefully, mark the cut line, cut, and then install. If you cut everything at once and make a measurement mistake, you waste panels. Also, pre-cut panels have exposed edges that are more likely to get damaged.
Q5: Does the wall need to be sanded perfectly smooth?
No, not as smooth as for painting. As long as there are no obvious bumps, holes, or dust, it's fine. PS panels rely on adhesive, not wall smoothness. But do fill any large holes.
Q6: I just stuck a panel and it's crooked. Can I remove it and redo it?
Within 20 minutes, you can carefully peel it off and reapply. After one hour, the adhesive starts curing, and forcing it off may break the panel. That's why you should check each panel with a spirit level as you go – don't wait until the whole wall is done to adjust.
For samples, quotes or technical consultation, please contact:
Official Website: http://www.ltpvcfactory.com
WhatsApp: +86 17757302351
Email: [email protected]
Sample Policy: Free samples and brochures are provided, with freight collect.