

 English
 Español
Understanding Wall Panel Types Before You Start
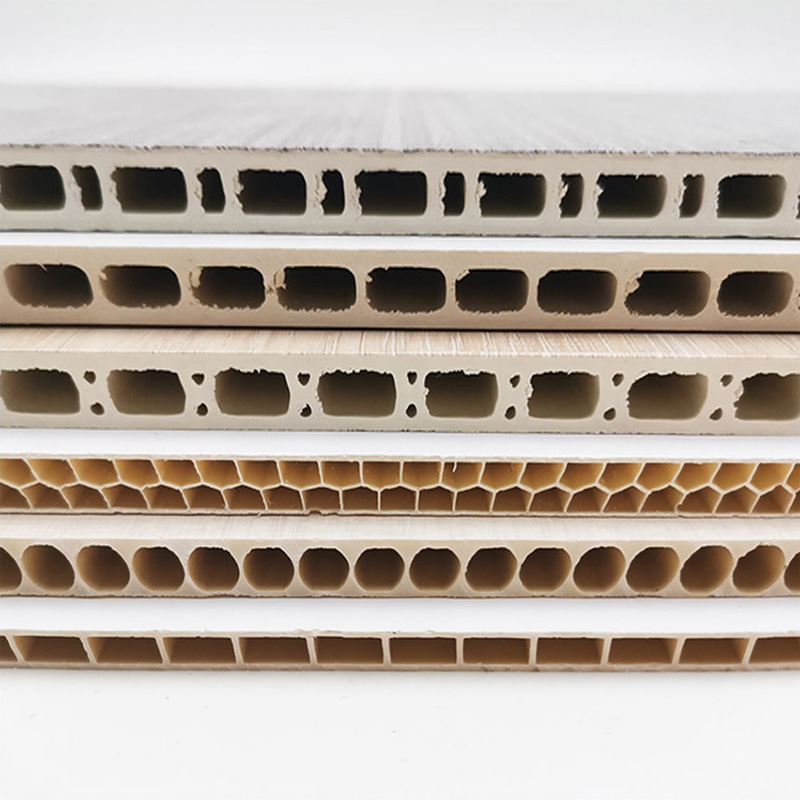
Before picking up a single fastener, the outcome of any paneling project is decided at the planning stage. Knowing pvc wall panels, wpc wall panels, spc wall panels, and bamboo wood fiber wall panels apart matters because each material reacts differently to moisture, temperature swings, and fastening methods. Choosing the wrong category for a bathroom, a commercial corridor, or an exterior soffit is the single most common reason a paneling job fails within its first year.
This guide walks through types of wall paneling, the tools that actually matter, and a room-tested sequence for how to install wall panels correctly the first time, whether the project is a weekend DIY refresh or a scheduled commercial fit-out.
Material choice also affects long-term running cost, not just the price tag on installation day. A panel that resists moisture in a laundry room avoids the cost of replacing swollen boards two years later, while a panel chosen purely for lowest upfront price in a high-humidity room often ends up being the more expensive option once repair labor is added in. Spending a few extra minutes matching the panel category to the actual conditions of the room usually pays for itself well before the first maintenance cycle.
It also helps to think about how the room is used day to day. A hallway that sees furniture bumps and foot traffic benefits from a denser, more impact-resistant panel, while a quiet home office can use a lighter bamboo fiber composite chosen mainly for its texture and acoustic softening. Matching the panel to the room's actual wear pattern, rather than only its look in a showroom, is what keeps a wall looking finished for years rather than months.
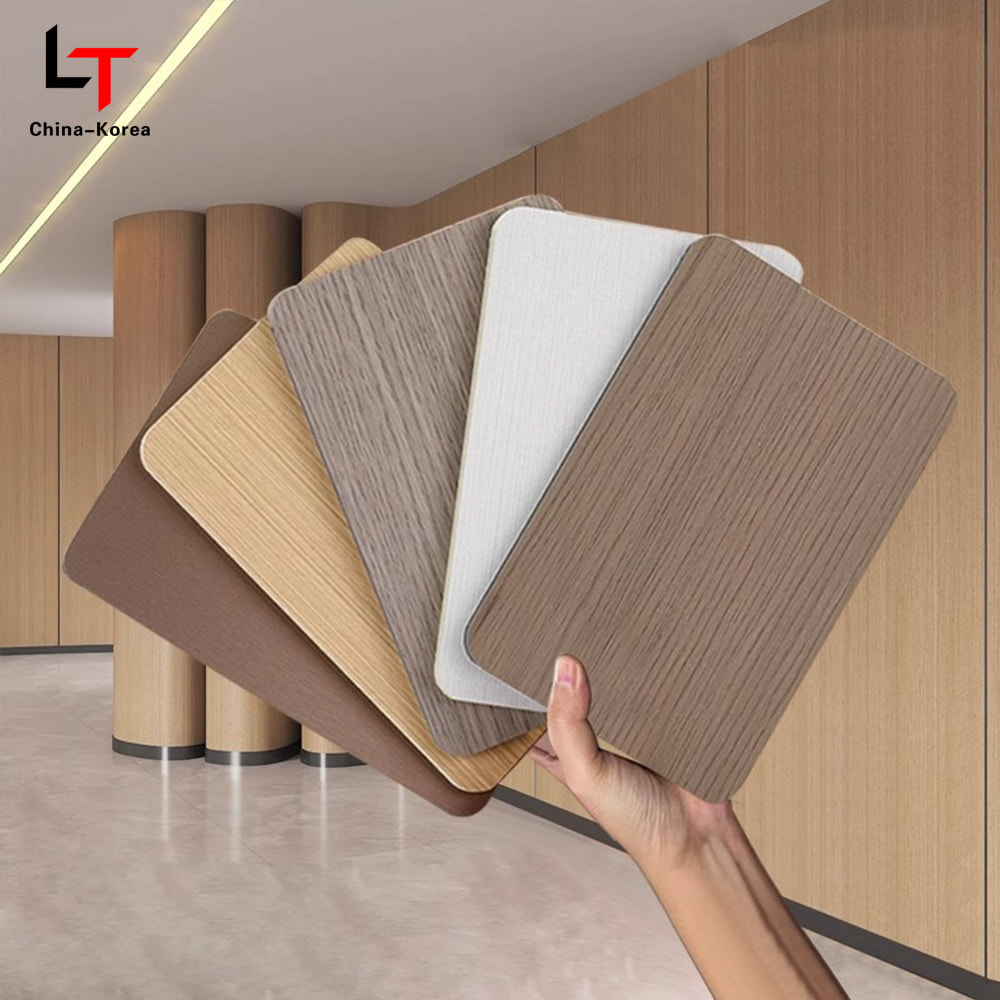
Interior Living Spaces
Best suited to PVC or bamboo fiber composite panels for a warm, low-maintenance finish.
Wet Areas and Bathrooms
Fully waterproof PVC or SPC panels resist swelling where humidity stays elevated for long periods.
Exterior and Semi-Outdoor
WPC panels handle UV exposure and moderate weathering better than untreated wood-look alternatives.
Comparing Panel Materials at a Glance
Each panel category listed under types of wall paneling carries a different balance of weight, water tolerance, and cutting difficulty. The table below summarizes what installers report most often on site.
| Panel Type | Moisture Resistance | Typical Wall Use | Cutting Difficulty |
|---|---|---|---|
| PVC Wall Panels | High | Bathrooms, kitchens, commercial corridors | Low |
| WPC Wall Panels | Moderate to High | Balconies, covered exteriors, feature walls | Moderate |
| SPC Wall Panels | Very High | Basements, laundry rooms, high-traffic areas | Moderate |
| Bamboo Wood Fiber Wall Panels | Moderate | Living rooms, offices, hospitality interiors | Low to Moderate |
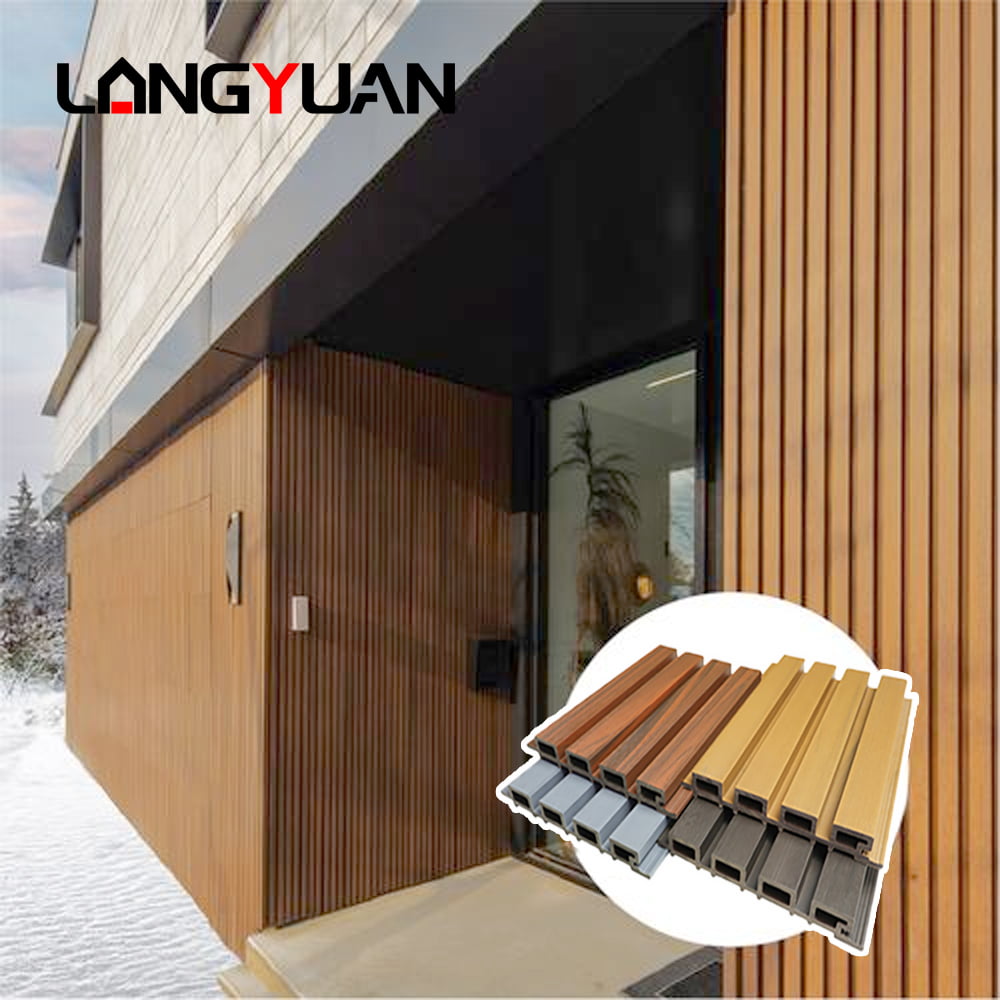
Panel width and profile depth also change how forgiving an installation is for a first-time installer. Wider panels cover a wall faster and hide fewer seams, which is useful in a room with several corners, but they also show waviness in an out-of-plumb wall more clearly than narrower boards. Narrower tongue and groove profiles take longer to install run by run, but each individual piece is easier to handle, cut, and correct if a mistake shows up partway through a wall.
Planning Panel Layout and Quantity
A rushed material order is one of the most common reasons a project stalls halfway through. Before ordering, measure the total wall area in square meters, subtract door and window openings larger than half a panel width, then add a waste allowance to cover cutting losses around corners and fixtures.
| Room Complexity | Recommended Waste Allowance | Typical Cause |
|---|---|---|
| Simple rectangular wall, no openings | 5 to 8 percent | Standard trimming at top and bottom |
| Wall with a door or window | 10 to 12 percent | Offcuts around openings |
| Room with multiple corners or niches | 15 percent or more | Repeated angled and notched cuts |
It is also worth deciding the panel run direction before ordering. Vertical runs are the standard choice for most rooms because they follow the natural line of a wall and shed water more effectively in a shower enclosure. Horizontal runs can visually widen a narrow hallway, but they require a longer starter trim and more careful leveling across the full length of the wall, since any error compounds sideways rather than staying contained within a single panel.
Tools and Materials Checklist
A clean installation depends more on preparation than on skill. Gather everything below before the first panel is cut, since stopping mid-job to source a missing tool is the most common cause of misaligned rows.
- Tape measure, spirit level, and a chalk line
- Fine-tooth saw or a track saw with a plastic-rated blade
- Panel adhesive or construction-grade adhesive strips
- Starter trim, corner trim, and finishing trim matched to the panel profile
- Utility knife for scoring thinner PVC sheet stock
- Stainless or coated fasteners where mechanical fixing is required
- Caulking gun with a paintable, mildew-resistant sealant
- Straightedge clamp to guide long cuts
Site note: Store panels flat in the installation room for at least 24 hours before fitting. Letting the material acclimate to room temperature and humidity reduces the risk of gaps opening between joints after the job is finished.
Wall Preparation Steps
Every reliable method for how to install a wall panel starts with the substrate, not the panel. Uneven walls telegraph through even rigid composite sheet material, so this stage is not optional.
- Remove existing trim, switch plates, and any loose surface coating.
- Check the wall for flatness with a long level; anything more than 3 millimeters out over a meter should be shimmed or skimmed before continuing.
- Confirm the surface is dry. Panels installed over damp plaster or masonry will trap moisture behind them.
- Mark stud or furring strip positions if a mechanical fixing method will be used rather than adhesive.
- Install a moisture barrier in wet-area applications before the first panel goes up.
Furring strips are worth the extra hour of work on masonry or uneven drywall. Running horizontal battens at 400 millimeter intervals gives panels a flat, consistent plane to sit against and creates an air gap that helps the wall breathe.
How to Install Wall Panels: Step-by-Step Process
Once the wall is prepared, the actual fitting sequence is largely the same across PVC, WPC, SPC, and bamboo fiber composite ranges, with minor differences in adhesive choice and cutting technique.
Step 1: Set the Starting Line
Mark a plumb vertical line at the point where the first panel will sit, usually starting from the most visible corner of the room. A true vertical line here keeps every following panel square, even if the corner itself is slightly out of plumb.
Step 2: Fit the Starter Trim
Fix starter and corner trims first. These channels hold the panel edges, hide raw cuts, and let the whole wall expand and contract slightly without visible gaps forming at the seams.
Step 3: Cut the First Panel to Height
Measure floor to ceiling at both edges of the panel, since most rooms are not perfectly level. Cut to the shorter measurement and let base trim cover any small gap.
Step 4: Apply Adhesive or Fix Mechanically
Run adhesive in a zigzag bead across the back of the panel, or fix through the tongue if a mechanical method is preferred. Press the panel firmly and evenly, working from the center outward to avoid trapping air pockets.
Step 5: Interlock Each Following Panel
Slide the groove of the next panel over the tongue of the last, tapping gently with a rubber mallet until the seam closes fully. Check plumb every two to three panels rather than only at the end of the wall.
Step 6: Finish Corners, Switches, and Trim
Cut around outlets and switches before final fixing, then close the run with matching corner or end trim, and seal wet-area joints with a paintable sealant.
How to Cut PVC Wall Panels Cleanly
Clean cuts are what separate an amateur-looking job from a finished one. This applies whether the material is a rigid PVC sheet, an SPC composite, or a bamboo fiber board.
| Cut Type | Recommended Tool | Key Tip |
|---|---|---|
| Straight length cuts | Track saw or circular saw, fine-tooth blade | Cut with the finished face up to prevent chipping |
| Notches around outlets | Jigsaw | Drill a pilot hole at each corner before cutting |
| Thin sheet scoring | Utility knife | Score both faces, then snap along a straightedge |
| Curved or irregular cuts | Rotary tool | Work in short passes to avoid overheating the edge |
Whichever method is used, dry-fit every panel before applying adhesive. A short test fit prevents a costly re-cut once glue has already been applied to the wall.
Blade speed matters as much as blade type. Cutting too fast through a rigid PVC or SPC board generates heat that can slightly melt or drag the material at the cut edge, leaving a rough line that is difficult to hide even under trim. Feeding the material through at a steady, moderate pace, and letting the blade do the work rather than forcing it, produces a cleaner edge and extends blade life across a full room's worth of cuts.
When following any PVC panel installation guide, always support the offcut side of the panel during a cut. An unsupported offcut can snap away from the blade partway through, chipping the finished face and wasting an otherwise usable piece of material.
Tongue and Groove Wall Panels Installation Method
Tongue and groove profiles are the most common interlocking system across PVC, WPC, and bamboo fiber ranges, and they behave slightly differently from flat-edge panels.
- Always start the groove side against the starter trim so the tongue faces outward toward the next panel.
- Fix through the tongue at a shallow angle so the fastener head sits flush and gets covered by the next panel.
- Leave a small expansion gap, roughly the thickness of a coin, at the top and bottom of each run in rooms with large temperature swings.
- Avoid forcing a panel into place with excessive pressure; a groove that will not seat cleanly usually signals debris in the channel rather than a manufacturing fault.
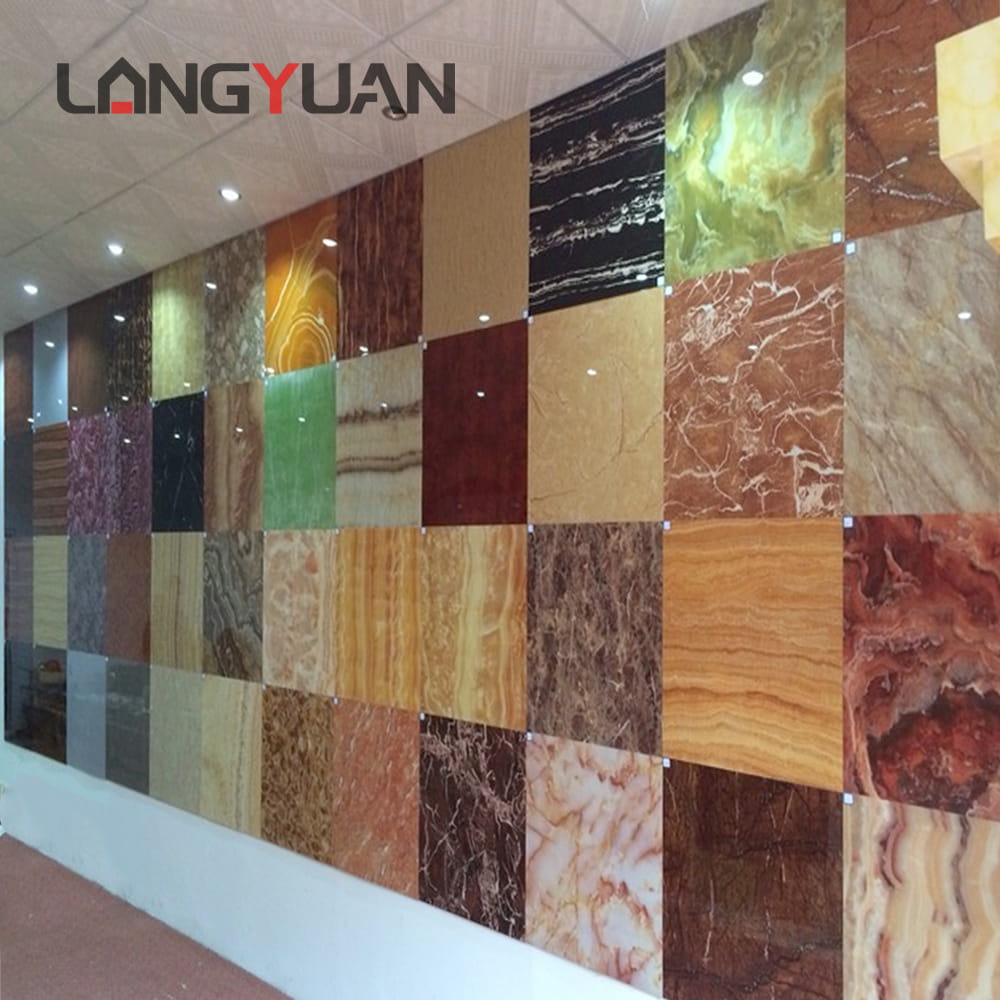
A properly executed tongue and groove wall panels installation should leave seams that are visible only on close inspection and completely invisible from normal room viewing distance. If a seam gap is noticeable across the room, the most likely cause is either a warped panel that was not acclimated correctly, or a groove that was not fully seated before the adhesive set. Both are worth checking on the very first panel of a run, since correcting the issue early is far easier than working back through an already-fixed wall.
Common Installation Mistakes and How to Avoid Them
Skipping the acclimation period listed earlier is the most frequent cause of visible gapping months after a project is finished. The second most common issue is overtightening mechanical fasteners, which can bow thinner sheet panels and telegraph a wave pattern under certain lighting.
A third recurring problem, particularly in a first attempt at diy wall panel installation, is starting the first panel out of plumb. Because each panel locks into the one before it, a small error at the start compounds across the whole wall and becomes very visible by the final row.
A fourth issue worth noting is mismatched adhesive. Not every construction adhesive bonds equally well to every substrate, and a product chosen for drywall may perform poorly on painted masonry or existing tile. Checking the adhesive manufacturer's substrate compatibility list before buying in bulk avoids discovering a bonding failure only after an entire wall has been fitted.
Finally, rushing the corner and edge trims is a mistake that shows up mostly in photographs rather than in daily use. Trim pieces are what a visitor's eye tracks first when scanning a finished wall, so mitred or capped corners deserve the same care as the panel faces themselves, even though they take up a small fraction of the total material.
Maintenance After Installation
Composite wall panels are chosen for low upkeep, but a short maintenance routine extends their appearance considerably.
- Wipe surfaces with a damp cloth and mild detergent rather than abrasive cleaners.
- Recheck sealant at wet-area joints once a year and refresh where it has thinned.
- Avoid pressure washing WPC panels at close range, since forced water can lift factory-applied surface coatings over time.
- Inspect trim corners in high-traffic commercial spaces for loosening and re-secure promptly.
Small scuffs on a PVC or SPC surface can often be buffed out with a soft cloth and a small amount of automotive-grade polish, since the surface layer on these panels is designed to resist scratching rather than to be repainted. Bamboo fiber panels with a textured finish are more forgiving of light surface marks but should avoid harsh solvents, which can dull the printed or laminated surface layer over time.
A short seasonal check, done once at the start of each year, catches most maintenance issues before they become visible problems. Walking the length of a panel run, pressing gently at seams, and checking trim corners takes only a few minutes but extends the practical life of the installation considerably.
Frequently Asked Questions
Q1: How do I add paneling to a wall that is not perfectly flat?
Install horizontal furring strips shimmed to a level plane before fitting panels. This creates a consistent surface and avoids telegraphing wall irregularities through the finished panels.
Q2: Can wall panels be installed directly over tile?
Yes, provided the tile is sound, clean, and dry. Grout lines deeper than a few millimeters should be filled first so adhesive makes even contact across the panel back.
Q3: How long should panels acclimate before fitting?
At least 24 hours in the room where they will be installed, laid flat and away from direct sunlight or heating vents.
Q4: What is the difference between adhesive and mechanical fixing?
Adhesive fixing suits flat, sound walls and leaves no visible fastener marks. Mechanical fixing through the tongue is more forgiving on slightly uneven substrates and allows easier future panel replacement.
Q5: Do wall panels need an expansion gap?
Yes, a small gap at the top and bottom of each run allows the material to expand and contract with temperature changes without buckling the seams.
Q6: Is professional installation necessary, or is this a realistic DIY project?
Most interior rooms are manageable as a DIY project with basic tools and a careful first panel. Complex layouts with many corners, or large commercial areas, often benefit from professional fitting to keep the schedule and finish consistent.
Q7: How much waste material should I budget for a full room?
Simple rectangular rooms typically need a 5 to 8 percent waste allowance, while rooms with several corners, niches, or openings should budget 15 percent or more to cover repeated angled cuts.