

 English
 Español
First-Time DIY Installation: From Zero to Done – I Finished My First PS Wall
I’ve never done any renovation work before. The only tool I had at home was a screwdriver.
Last year I decided to give my living room TV wall a new look. After some research, I chose PS wall panels – because people said you can install them yourself, and they don’t cost much.
Below is the whole process, from unboxing to finishing the first wall. It’s not a tutorial – just a record. But after reading it, you’ll realize: this stuff really is for ordinary people.
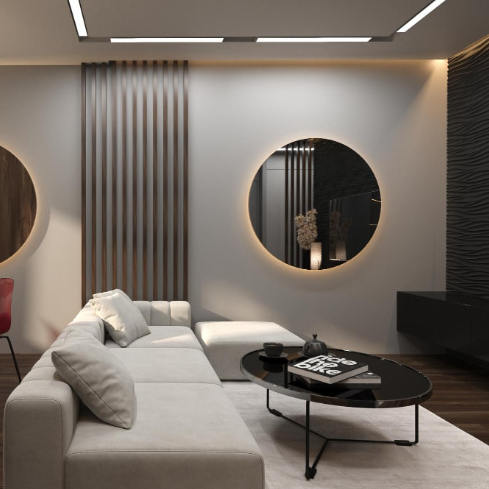
Evening of day one: Unboxing. A bit overwhelmed.
The panels arrived – three boxes, each maybe 15-20 kg. I carried them upstairs by myself. Not heavy, but the boxes were a bit large.
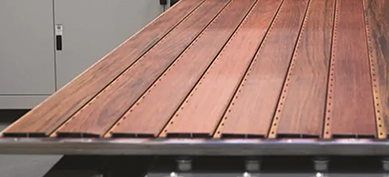
I opened one box and took out a panel. First thought: “Wow, this really looks like wood.” I chose a light oak grain, matte finish, with an embossed texture that you can feel.
Then I froze – how do I actually install this? Where do I even start?
I quickly pulled up the installation video the seller sent. Watched it twice. Felt okay. Watched it a third time and wrote down a few key points:
- The wall must be clean and flat
- Use neutral adhesive
- Start from the bottom and work up
- Use a level on every panel
After that, I felt more confident. I didn’t start that night – just leaned the panels vertically against the wall and went to sleep
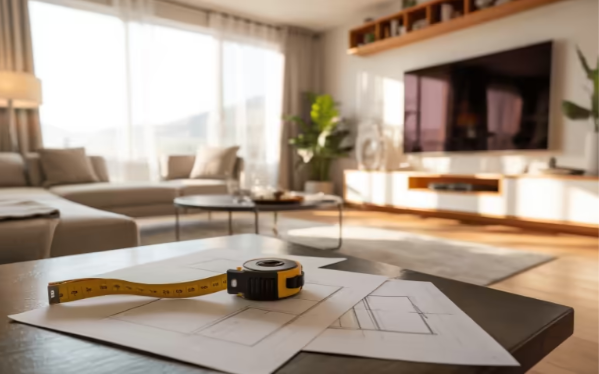
Next morning: Preparing the wall. More tiring than I thought.
The original wall was painted with latex – no wallpaper – but there were a few nail holes and some crayon marks from my kid.
I wiped the wall twice with a damp cloth, then let it dry. I filled the nail holes with patching compound (it’s like toothpaste – squeeze it in, scrape it flat). Waited for it to dry, then sanded it smooth.
The hardest part wasn’t the effort – it was the waiting. The compound took two hours to dry.
After sanding, I wiped off the dust again. The wall felt pretty flat.
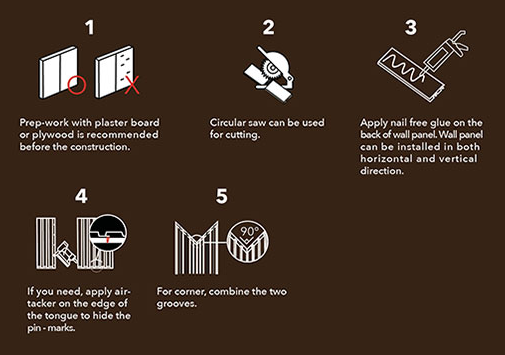
Afternoon of day two: Installing. A bit clumsy, but getting there.
I had all the tools ready: caulking gun, neutral silicone, utility knife, level, painter’s tape, tape measure.
First, I did a dry layout on the floor. My panels are 2400×600mm. The wall is 3.6m wide and 2.4m high. Math said exactly 6 panels – no width cuts needed, and the height matched perfectly. Lucky.
- First panel – Start from the bottom left corner. Applied adhesive in a few S-curves on the back. Pressed it onto the wall, then checked with the level – crooked. Quickly peeled it off before the adhesive set. Second try, leveled it carefully, then used painter’s tape around the edges to hold it in place.
- Second panel – Right next to the first one. Left a gap about the thickness of a bank card. This time it went much smoother.
- Third panel – Noticed the tape on the first panel was loosening a bit because of the adhesive squeeze-out. Added more tape.
The trickiest part was the electrical outlet. Two panels needed holes. I marked the outlet position on the panel and slowly cut with a utility knife. The first hole wasn’t round at all – the second was better. Advice for beginners: buy a hole saw attachment for your drill – much easier.
- Last panel – The top one. Had to stand on tiptoes. Hands were a little shaky, but I managed to line up the gap.
After finishing, I wiped off excess adhesive with a damp cloth. Then the waiting began – 24 hours for the adhesive to fully cure
Day three: Remove the tape. See the result.
Morning came. I peeled off the painter’s tape and stood back.
Honestly, it looked better than I expected. The gaps were mostly straight, the color was uniform, and it felt like real wood to the touch. My mom came over and asked, “When did you hire a carpenter?”
I told her I did it myself. She didn’t believe me.
Mistakes I made – so you don’t have to
- Don’t use too much adhesive.On my first panel, I used too much, and a lot squeezed out. Spent forever wiping it off. After that, I used less – just dots and a light S-curve. Enough.
- Use enough painter’s tape.On one panel I only used four strips – one on each edge. That night I noticed the middle was slightly bulging. Added more tape.
- Check every panel with a level.On the second panel, I thought just aligning it with the first would be fine. It wasn’t. After that, I leveled every single one – more work, but no regrets.
- Change your utility blade often.A dull blade leaves rough edges. With a fresh blade, score twice and snap – clean cut every time.
How is it after one year?
No lifted edges, no fading (north-facing living room), no mold. My kid drew on it once with crayon – wiped off with a damp cloth. Very happy with it.
If you’re hesitating about whether you can do it yourself, my answer is: yes, you can. As long as you’re willing to try, PS panels are a great starting point for your first DIY renovation.
Frequently Asked Questions (FAQ)
Q1: Where is your factory located?
A: No. 10-1 Lianhong Road, Yuanhua Town, Haining City, Zhejiang Province, China.
Q2: What adhesive did you use? Any recommendation?
The seller provided neutral silicone adhesive – white tube, labeled “neutral anti-mold”. I don’t remember the brand, but when you buy your own, just look for the word “neutral”. Never use acidic.
Q3: What if I stick a panel crooked? Can I redo it?
Within 20 minutes, you can carefully peel it off and reapply. After that, don’t force it – it may break. That’s why I checked each panel with a level right after sticking it.
Q4: Any tips for cutting outlet holes?
Buy a hole saw attachment for your drill – clean and fast. I didn’t, so I used a utility knife. The first hole was ugly, but the faceplate covered it.
Q5: Did you do it all alone? Do you need a helper?
I did it alone, but for some spots (high up, long panels), a second pair of hands would have made it easier. If you have a friend or family member who can help, go for it.
Q6: How long after installation can I use the wall? Can I hang pictures?
Adhesive needs 24 hours to fully cure. Don’t touch the panels during that time. After 48 hours, you can clean them and hang pictures. For drilling, pre-drill a small hole before driving screws – don’t force them in.
For samples, quotes or technical consultation, please contact:
Official Website: http://www.ltpvcfactory.com
WhatsApp: +86 17757302351
Email: [email protected]
Sample Policy: Free samples and brochures are provided, with freight collect.